My second fully wireless build! I have been using this now as my daily driver since I built it and it’s a strong candidate for my long term travel ambitions.
The BOM
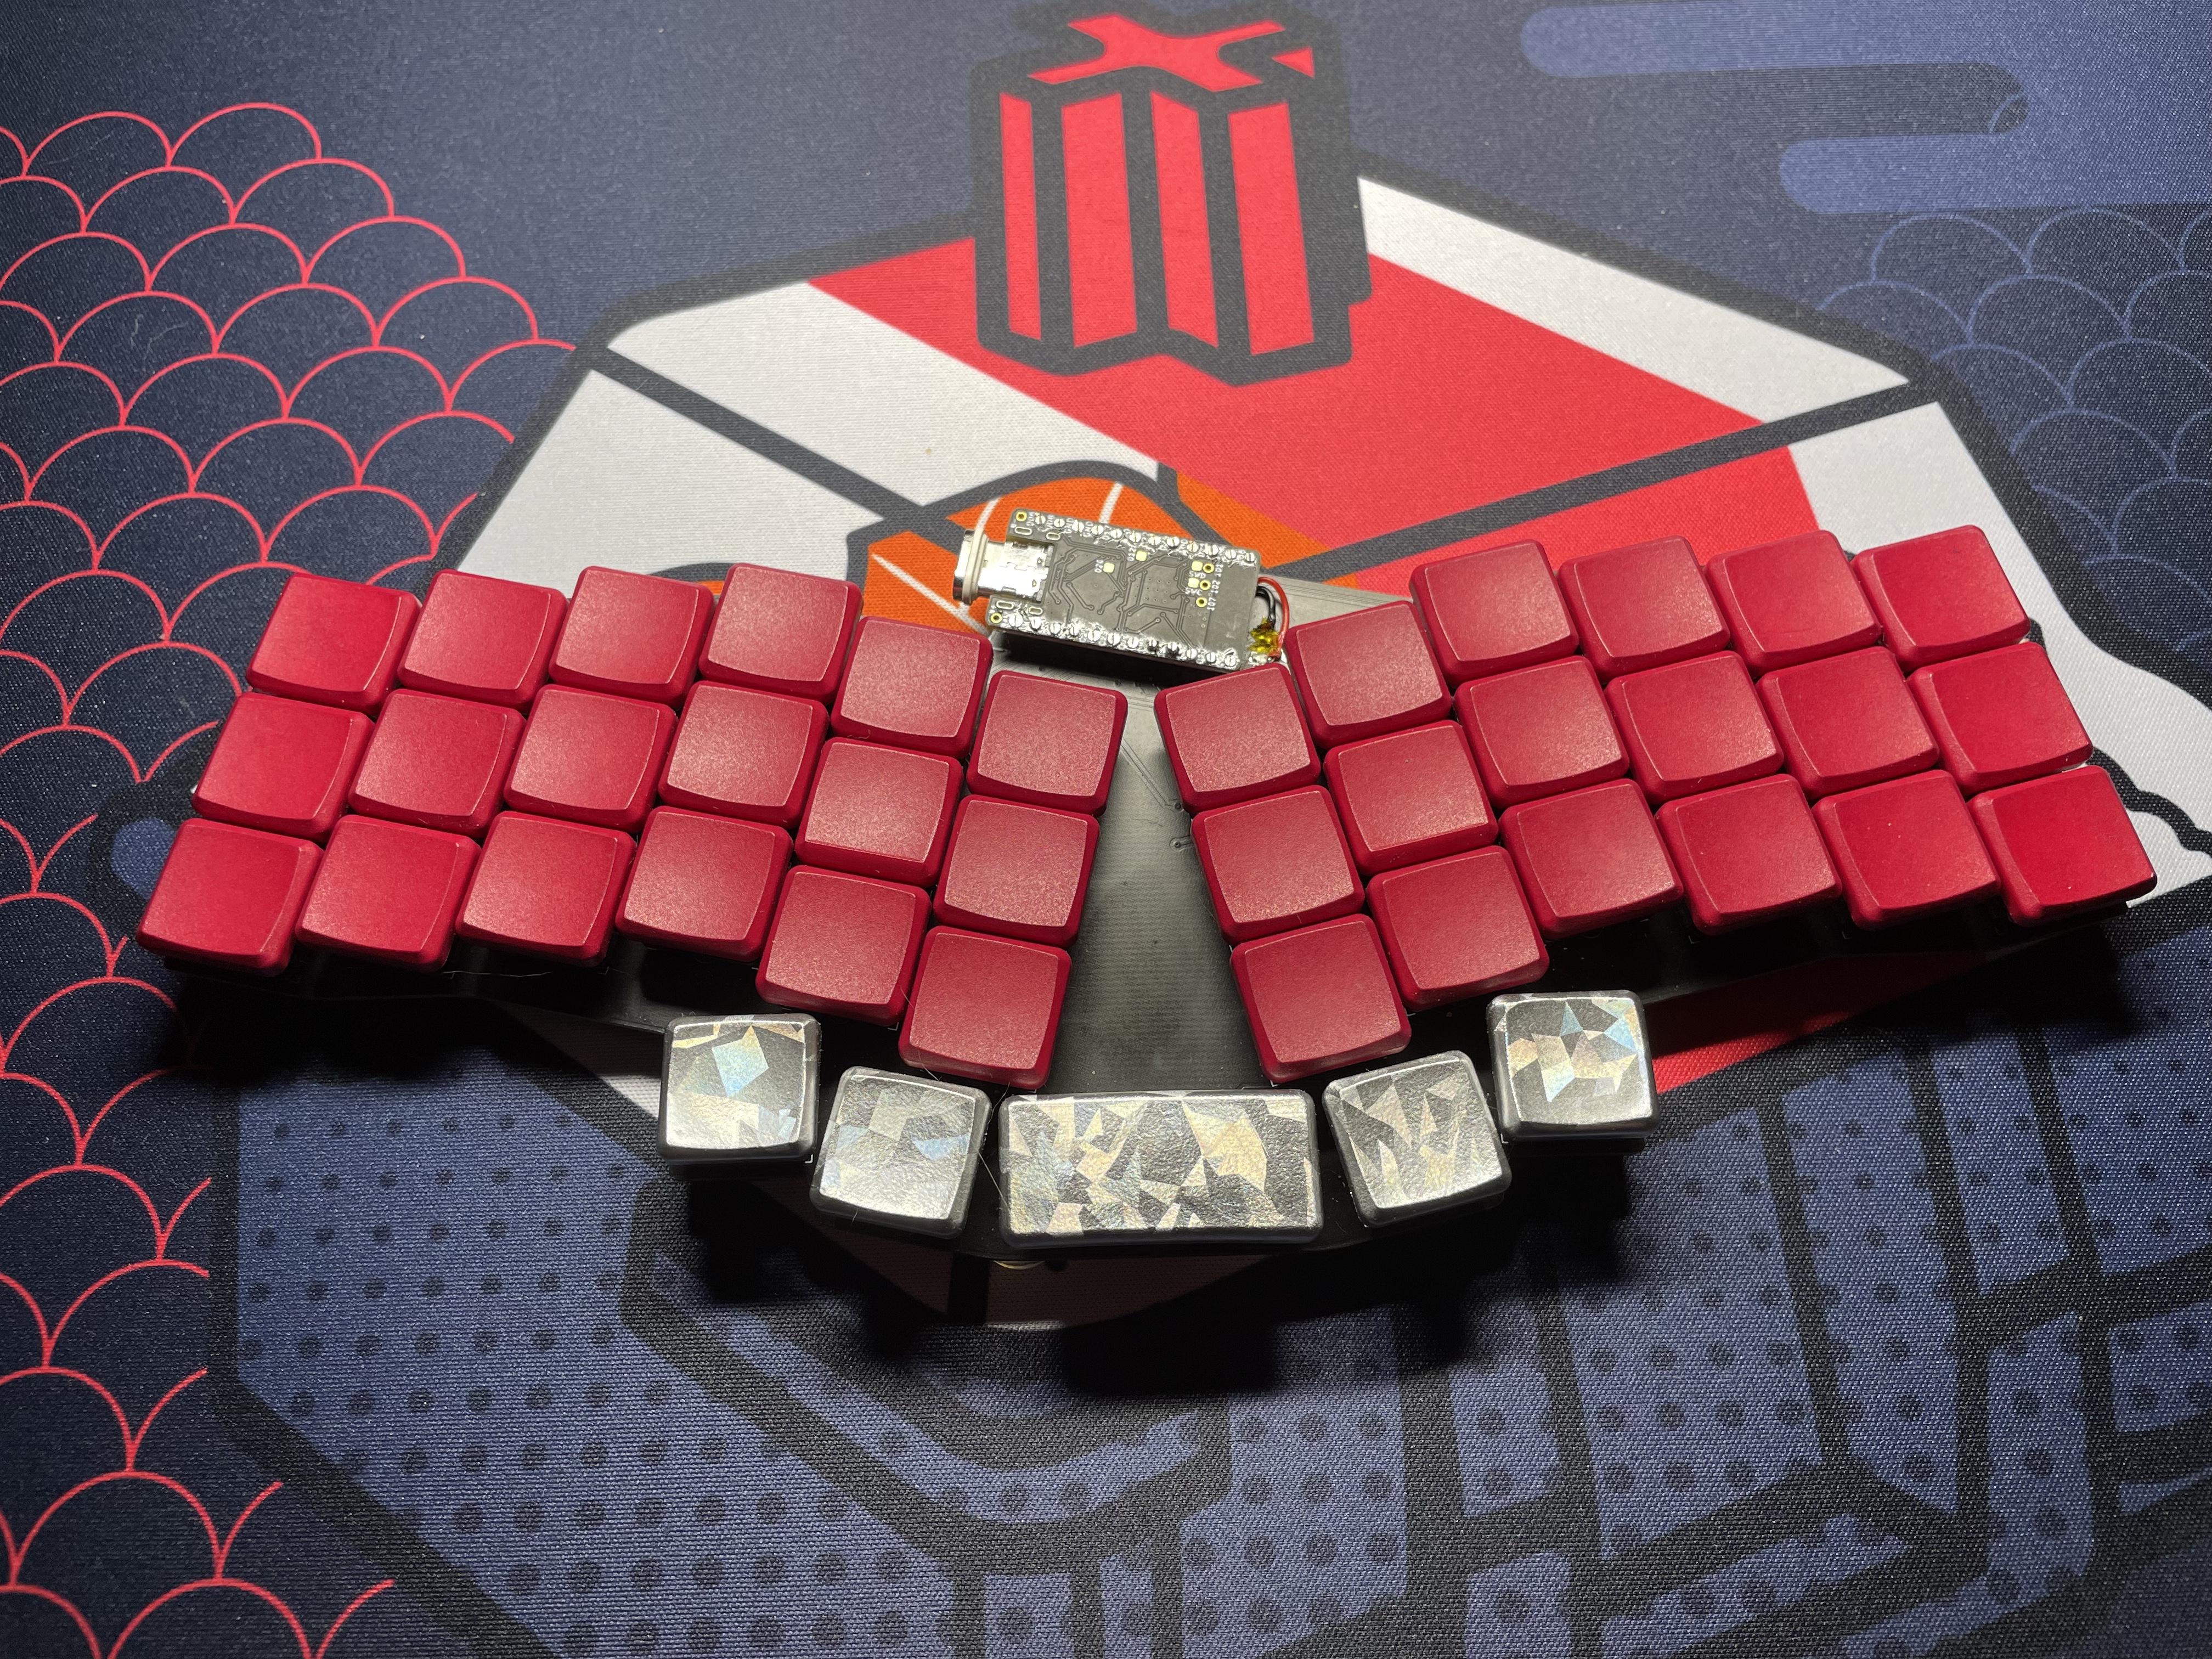
- Reviung41lp PCB from Cyril
- nice!nano controller running ZMK firmware
- Kailh Choc White switches
- MBK Color keycaps in red from MKUltra
- MBK Holo keycap prototypes from kartsims
- Kailh Choc hotswap sockets
- ZMK Firmware
The Build
Given this is a wireless-only board for me, there are no frills, no OLED displays, no LEDs, nothing of the sort, just a controller, a bunch of diodes, and a bunch of hotswap sockets. So it went really quickly.
One really great thing about this board is it has some extra nice bits for battery-powered usage. On-board is an inline power switch to disconnect the battery, and 2 pads for soldering the battery leads to. The battery fits nicely underneath the nice!nano, though if I were to make this myself I would set it up such that the nice!nano is flipped so it can sit a little lower on the board. I would also have made the battery lead pads be through hole rather than surface mount as they probably would have been easier to solder.
For firmware, I’m using the awesome ZMK. Cyril was kind enough to create a shield in zmk for this so adding my keymap was as simple as copying his overlay file into my repo and setting up my keymap. Then, I let the github actions take over, build my firmware, and copy it to my board. Easy peasy. The way the nice!nano takes firmware updates is you double click the reset button and it exposes itself to the host OS as a USB drive, then you drag the firmware over. This doesn’t seem to work with iPadOS, however, so it’s not perfect, yet, but I’d like to see what I can do to help make that a reality, as that would allow me to update my firmware on the road without having access to a computer.
The Finished Product
This is still my daily driver and likely will be for the foresee able future. I am not the biggest fan of clicky switches, but the choc whites and the choc robins provide the tactility that I like that the browns don’t deliver. I’m looking forward to getting my hands on a similar PCB with chocv2 switch support and building that up. I also feel like I like mx spacing better, but I’ve been getting used to the choc spacing on this board, so who knows.
I have the exact same components as you, and I was wondering if you could please send or post on Github your .uf2 file for flashing the nice!nano? The current firmware I have flashed has all the alphas off by a few spaces on the right hand side of the board.
My zmk configs can be found at https://github.com/kitchen/zmk-config
Note that there’s reviung41 and reviung41lp in there and there’s a custom overlay file for the lp that is being included in the build. It’s a bit wonky but it works fine. The idea is that it leverages the reviung41 shield config built in to zmk but uses a different pin out and matrix transform. Honestly it should probably just be a distinct shield but I didn’t know what I was doing at the time and haven’t revisited things.
htnsueoahtns